C# Development with VS Code — Part 2: Developing C# Apps
Series Overview
- Getting Started — Installation, UI tour, Git integration
- Developing C# Apps (this article) — Extensions, editing, IntelliSense, NuGet packages
- Debugging — Breakpoints, configurations, attach to process
- Productivity — Keyboard shortcuts, tasks, workflow optimisation
Essential Extensions
C# Dev Kit
The cornerstone of C# development in VS Code is the C# Dev Kit extension from Microsoft. It provides:
- IntelliSense and code completion
- Code navigation (Go to Definition, Find References)
- Refactoring support
- Solution Explorer
- Test Explorer integration
- Build and debug assets
Open the Extensions pane (Ctrl+Shift+X / Cmd+Shift+X), search for “C# Dev Kit”, and install it:
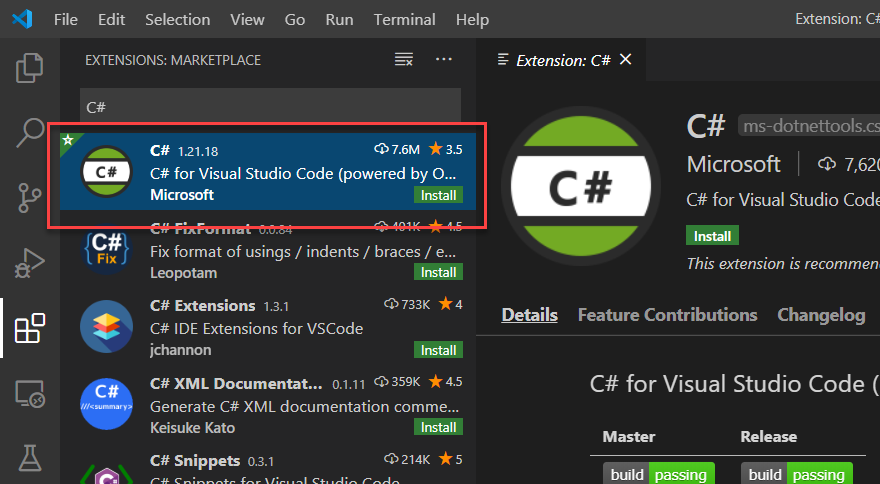
Note: The original “C#” extension (OmniSharp) is still available but C# Dev Kit is now Microsoft’s recommended extension. It includes the C# extension as a dependency.
C# Extensions
Also install C# Extensions by JosKreativ. This adds shortcuts for scaffolding new classes and interfaces via right-click in the Explorer — a small but significant time-saver.
The Terminal-First Workflow
VS Code doesn’t have a “File > New Project” wizard. Instead, .NET development relies on the dotnet CLI through the integrated terminal (Ctrl+`).
Create a new console project:
1
dotnet new console -o GuideDemoApp
Open it in the current VS Code window:
1
code -r GuideDemoApp
When VS Code detects a C# project, it prompts you to add build and debug assets:
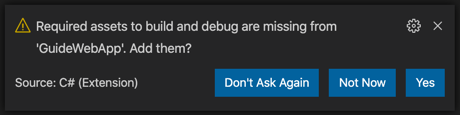
Click Yes — this creates a .vscode directory with launch.json and tasks.json that enable debugging. If you miss the prompt, open the Command Palette and search for .NET: Generate Assets for Build and Debug.
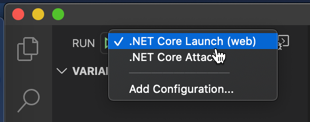
The Debug pane (Ctrl+Shift+D / Cmd+Shift+D) now shows launch configurations:
Editing C# Code
Creating Classes
Right-click in the Explorer and select New C# Class (from the C# Extensions extension). Enter the filename — the class is scaffolded with the correct namespace automatically.
Code Snippets
Type snippet shortcuts and press Tab to expand them. The most useful ones:
| Snippet | Expands To |
|---|---|
prop | Auto-implemented property |
propfull | Property with backing field |
ctor | Constructor |
class | Class declaration |
interface | Interface declaration |
for, foreach | Loop structures |
try | Try/catch block |
cw | Console.WriteLine() |
For example, type prop and press Tab:
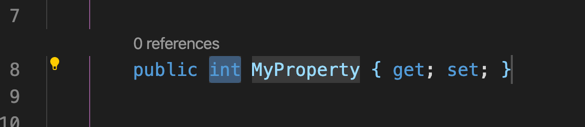
The type is highlighted — start typing string to change it. Press Tab again to jump to the property name.
IntelliSense
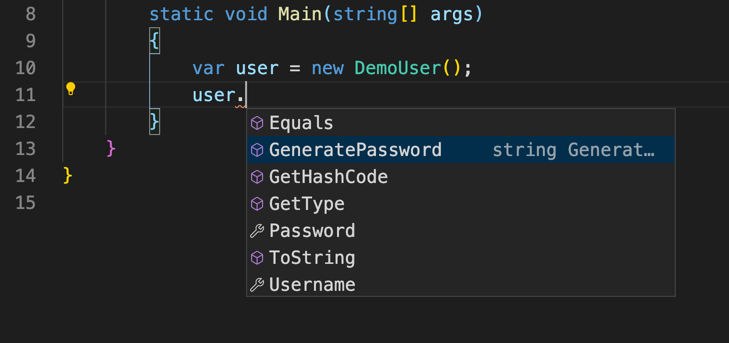
Just like Visual Studio, VS Code shows context-aware completions after typing a dot:
Hover over any symbol to see its definition. For keyboard access: Ctrl+K Ctrl+I / Cmd+K Cmd+I.
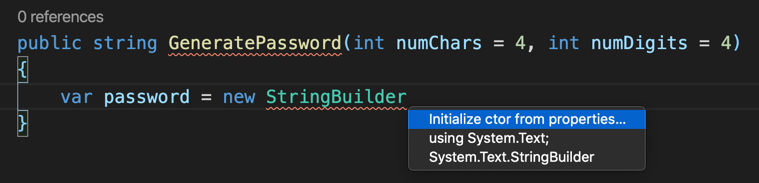
Quick Fixes
When VS Code underlines a problem with a wavy line, place your cursor on it and press Ctrl+. / Cmd+. to see available fixes:
Common quick fixes include:
- Adding missing
usingstatements - Removing unused usings
- Generating constructor parameters
- Implementing interface members
- Extracting methods or variables
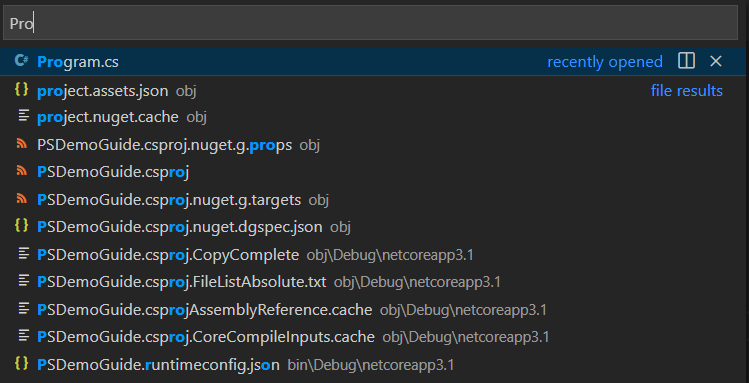
Quick File Navigation
Press Ctrl+P / Cmd+P and start typing any filename. VS Code fuzzy-matches across the entire project:
Working with NuGet Packages
Via the Terminal
The most reliable way to add NuGet packages:
1
dotnet add package Bogus
Via the NuGet Gallery Extension
For a visual experience, install the NuGet Gallery extension. Open it via Command Palette > NuGet: Open Gallery:
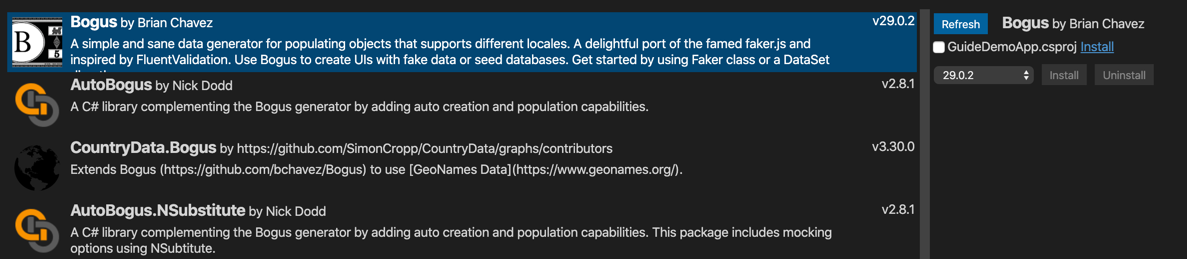
Search for packages, view details, and click Install next to the target .csproj file.
A Complete Example
Let’s put it together. Create a DemoUser class with the New C# Class shortcut, then add properties using the prop snippet:
1
2
3
4
5
6
7
8
9
10
namespace GuideDemoApp;

public class DemoUser
{
    public string Username { get; set; } = string.Empty;
    public string Password { get; set; } = string.Empty;

    public override string ToString()
        => $"<User: {Username} / {Password}>";
}
In Program.cs, use IntelliSense to write the main logic. Use Ctrl+. to auto-import Bogus when using the Randomizer class:
1
2
3
4
5
6
7
8
9
10
11
12
13
14
15
16
17
18
using Bogus;

var bogusPerson = new Person();
var user = new DemoUser
{
    Username = (bogusPerson.FirstName[0] + bogusPerson.LastName).ToLower(),
    Password = GeneratePassword()
};

Console.WriteLine(user);

static string GeneratePassword(int numChars = 4, int numDigits = 4)
{
    var randomizer = new Randomizer();
    var letters = randomizer.String(numChars, numChars, 'A', 'Z');
    var digits = randomizer.String(numDigits, numDigits, '0', '9');
    return $"{letters}-{digits}";
}
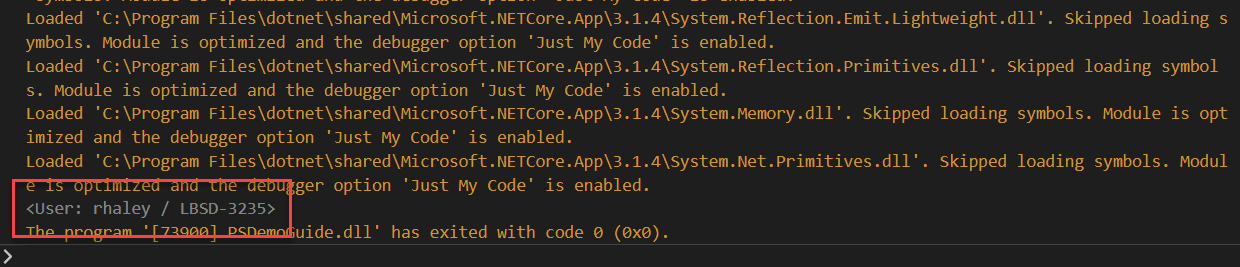
Run it:
1
dotnet run
Key Takeaways
- Install C# Dev Kit — it’s the foundation for everything: IntelliSense, debugging, testing, navigation.
- Learn the
dotnetCLI — project creation, package management, and builds all happen through the terminal. - Use code snippets —
prop,ctor,cwand others save significant typing. - Use
Ctrl+.constantly — quick fixes for missing usings, interface implementation, and refactoring. - Use
Ctrl+Pfor file navigation — faster than clicking through the Explorer tree.
What’s Next
In Part 3: Debugging, we’ll explore breakpoints, variable inspection, debug configurations, command-line arguments, web app debugging, and attaching to running processes.